The Dummy Camera Bracket Installation Guide highlights the importance of choosing the right bracket type for indoor or outdoor security systems based on specific needs. It provides a step-by-step process from unboxing to securing the bracket, emphasizing proper marking, drilling, and following manufacturer instructions for optimal mounting and system effectiveness.
Fake security camera mounting brackets, also known as dummy cameras, are an effective deterrent against crime. This comprehensive guide, ‘Dummy Camera Bracket Installation Guide’, explores how to maximize their potential through understanding different bracket types and best practices for secure mounting. Learn the step-by-step process to ensure your dummy camera system not only looks authentic but also serves as a powerful visual deterrent, enhancing home or business security without breaking the bank.
- Understanding Dummy Camera Bracket Types
- Step-by-Step Installation Process
- Best Practices for Secure Mounting
Understanding Dummy Camera Bracket Types
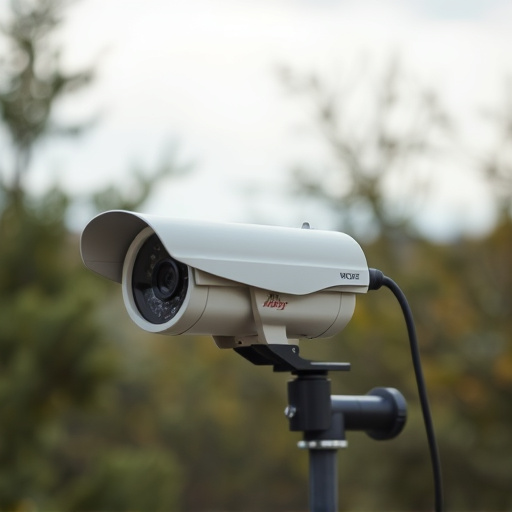
Dummy camera brackets, also known as fake security camera mounts, come in various types designed for different installation scenarios. Understanding these bracket types is crucial when looking to install a Dummy Camera Bracket Installation Guide. Some are simple, wall-mounted models that resemble real cameras, while others are more complex, offering adjustable angles and even weatherproofing.
Each type has its unique benefits and is suited for specific needs. For instance, indoor brackets often have sleek designs to blend seamlessly with décor, while outdoor brackets are built sturdily to withstand harsh weather conditions. Knowing the right bracket type ensures a secure installation, enhancing the visual deception of your security system.
Step-by-Step Installation Process
Dummy Camera Bracket Installation Guide
Begin by carefully unboxing your dummy security camera bracket and laying out all components for a clear view. The typical kit includes the main bracket, mounting screws, and sometimes an adjustable strap or cable tie. Ensure you have all parts before starting. Next, identify the desired installation location—whether on a wall, ceiling, or pole—and mark the spots where the screws will be inserted. Drilling pilot holes at these marks is crucial to prevent damage and ensure secure mounting.
With the pilot holes prepared, attach the main bracket by screwing it into place using the provided fasteners. Ensure the bracket faces the desired direction for optimal camera view. If adjustable strap or cable tie is included, fasten them securely to allow future adjustments if needed. Follow the manufacturer’s instructions for best results, and always double-check all connections before turning on your security system.
Best Practices for Secure Mounting
When installing a dummy security camera bracket, adhering to best practices ensures optimal security and peace of mind. Begin by thoroughly inspecting the mounting surface to ensure it can support the weight of the camera and bracket combination. Use suitable tools like drill bits and screwdrivers designed for such tasks to avoid damage or misalignment.
Positioning is key; place the bracket at eye level or slightly elevated to offer a clear view, securing it firmly with screws or bolts. Consider using lockable hardware to add an extra layer of protection against tampering. Regularly test the mounting by gently shaking the camera to ensure it remains steadfast, and always follow the manufacturer’s guidelines for specific model compatibility.
A Dummy Camera Bracket is not just a decorative accessory; it’s a strategic component in enhancing security. By following this Dummy Camera Bracket Installation Guide, you’ve learned how to secure these brackets effectively, deterring potential criminals and providing peace of mind. Remember, proper mounting practices are key to a successful security system, ensuring your cameras remain in place and ready to safeguard your property.