Install dummy dome cameras with blinking LEDs for enhanced security by following a Dummy Camera Bracket Installation Guide. Choose a visible location, secure the bracket to sturdy surfaces, align the camera correctly, and customize LED blinking frequency. Ensure optimal setup and deter intruders effectively with accurate installation per the guide. Regularly maintain clear visuals through cleaning and inspecting components.
“Uncover the power of dummy dome cameras with blinking LED lights—a discreet yet effective security solution. This comprehensive guide delves into every aspect of successful installation, from understanding these versatile devices and selecting the perfect bracket to a detailed step-by-step process. Learn the art of transforming your space with these unassuming guardians while ensuring optimal performance through final checks and troubleshooting tips. For an informed and seamless Dummy Camera Bracket Installation, look no further.”
- Understanding Dummy Dome Cameras
- Benefits of Blinking LED Lights
- Choosing the Right Bracket for Installation
- Step-by-Step Installation Guide
- Final Checks and Troubleshooting Tips
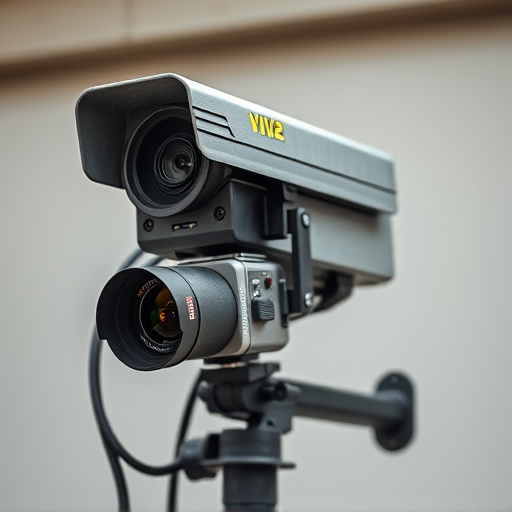
Understanding Dummy Dome Cameras
Dummy dome cameras with blinking LEDs are a popular choice for those looking to enhance security without the cost and complexity of installing real surveillance systems. These devices mimic the appearance of functional cameras, often featuring a sleek dome design and a bright LED light that blinks to indicate activity. Understanding how to properly install a dummy camera bracket is key to making these devices work effectively.
A Dummy Camera Bracket Installation Guide typically covers essential steps like selecting the right location—a place with clear visibility and adequate lighting—and ensuring the bracket is securely fastened to a sturdy surface, such as a wall or ceiling. Proper alignment of the camera itself is crucial, allowing it to capture clear images while the blinking LED can be adjusted for frequency and intensity to suit various security needs and preferences.
Benefits of Blinking LED Lights
Blinking LED lights on dummy dome cameras offer a multitude of benefits, especially during Dummy Camera Bracket Installation Guides. These lights serve as a powerful deterrent to potential intruders, as their intermittent illumination can create the illusion of constant surveillance. This simple yet effective feature adds an extra layer of security to any property, making it a valuable asset for homeowners and businesses alike.
Furthermore, blinking LEDs help in enhancing visibility during nighttime or low-light conditions. The dynamic nature of the lights draws attention, ensuring that any unusual activities are quickly noticed. This added awareness can be crucial in preventing crime and providing early warning signs, contributing to a safer environment.
Choosing the Right Bracket for Installation
When setting up a dummy dome camera with blinking LED, selecting the appropriate bracket for installation is a crucial step. The right bracket ensures your camera offers maximum visibility and security, mimicking the function of a real surveillance device. When choosing, consider factors like compatibility—ensuring it fits both your camera model and desired installation surface. Material quality matters; opt for durable metal brackets that can withstand outdoor elements.
For optimal results, select a bracket designed specifically for dummy cameras, offering precise adjustments for angle and orientation. This ensures the camera’s lens aligns perfectly with the target area. Additionally, look for features like weatherproofing to protect against moisture damage. Following a Dummy Camera Bracket Installation Guide will help ensure your setup is secure, accurate, and effective in deterring potential intruders.
Step-by-Step Installation Guide
Installing a dummy dome camera with blinking LED is a straightforward process, guided by this simple step-by-step installation guide. Begin by preparing your workspace – ensure the area around the intended mounting location is clear and accessible. Next, gather all necessary tools, including the dummy camera, bracket, screws, and any other accessories that come with your specific model.
Identify the optimal spot for your camera, typically a visible area offering a wide field of view. Securely attach the bracket to this location using the provided hardware, ensuring it’s sturdy and level. Carefully place the dummy camera onto the bracket, aligning it precisely according to your manufacturer’s instructions. Tighten all screws securely to complete the installation, double-checking for stability and correct positioning before turning on the power.
Final Checks and Troubleshooting Tips
Before commissioning your dummy dome camera system, it’s crucial to perform a series of final checks. Verify that all components—including the dummy camera bracket, LED lights, and cables—are securely attached and properly aligned. Double-check connections at both ends of each cable to ensure signal integrity. Once installed, power on the system and test the blinking pattern of the LEDs; they should illuminate in a consistent sequence. If not, refer to your Dummy Camera Bracket Installation Guide for troubleshooting steps.
Regular maintenance involves periodic cleaning of the camera lens and LED housings to prevent dust buildup. Ensure optimal visibility by inspecting the field of view from different angles. Should any issues persist, consult the guide or seek manufacturer support. Remember, clear visuals are paramount for effective surveillance, whether in a real security setup or a simulated environment.
Dummy dome cameras with blinking LEDs offer a cost-effective security solution. By understanding their benefits, choosing the right bracket for installation, and following a simple step-by-step guide (including final checks and troubleshooting tips), you can ensure your dummy camera setup is both effective and discreet. For an efficient Dummy Camera Bracket Installation Guide, this knowledge is key to enhancing your home or business security without breaking the bank.