The Dummy Camera Bracket Installation Guide provides a cost-effective security enhancement solution by detailing the strategic placement and setup of dummy camera brackets. It includes step-by-step instructions for installation, ensuring optimal positioning for effective surveillance while seamlessly integrating with existing systems. Regular maintenance, such as cleaning cameras and considering additional realism enhancements, ensures maximum deterrence for potential intruders.
“Uncover the power of an Empty Security Camera Housing Unit—a versatile tool for enhancing security without the need for a real camera. This comprehensive guide explores the world of dummy camera brackets, providing insights into their installation and maintenance. From understanding the unit’s purpose to following a detailed step-by-step installation process, we empower you with the knowledge to transform your space with this cost-effective security solution. Master the art of Dummy Camera Bracket Installation Guide—a practical approach for enhanced safety.”
- Understanding Empty Security Camera Housing Units
- Preparing for Dummy Camera Bracket Installation
- Step-by-Step Guide to Installing the Dummy Camera Bracket
- Best Practices and Tips for Maintaining Your Dummy Camera Setup
Understanding Empty Security Camera Housing Units
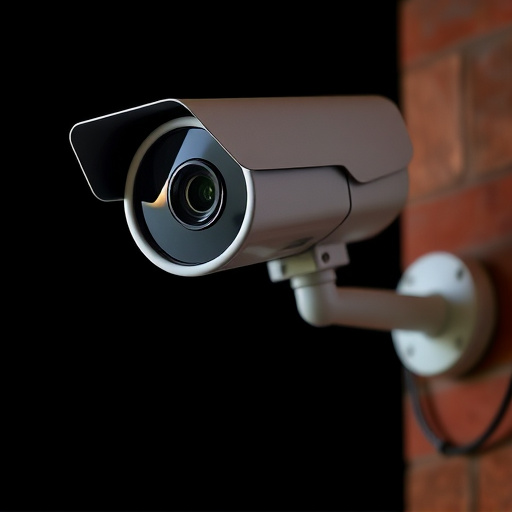
Empty security camera housing units, also known as dummy camera brackets, are an essential component in any comprehensive surveillance system. These devices serve a dual purpose: they provide a realistic appearance of active cameras, deterring potential criminals, and offer a practical installation solution for various camera setups. By strategically placing these empty housings, businesses and homeowners can create the illusion of enhanced security without the need for costly and extensive wiring or permanent mounting of actual cameras.
A Dummy Camera Bracket Installation Guide is a valuable resource for anyone looking to maximize the effectiveness of these units. This guide typically covers step-by-step instructions on where and how to position the brackets, ensuring optimal visual impact and seamless integration with existing security systems. It may also include tips on choosing the right housing models that match the style and specifications of your actual cameras, allowing for a more convincing simulation of active surveillance.
Preparing for Dummy Camera Bracket Installation
Preparing for a Dummy Camera Bracket Installation is a crucial step in ensuring your security system functions effectively. Before attaching your dummy camera bracket, inspect the housing unit and its surroundings to identify any potential obstructions or hazards that could interfere with the camera’s line of sight. Clear the area of any debris, plants, or objects that might obstruct the view, maintaining an unobstructed field of vision is essential for accurate surveillance.
This process involves a simple yet precise guide: gather the necessary tools, including the bracket, screws, and a compatible dummy camera (if not already included). Follow the manufacturer’s instructions to measure and mark the correct placement for the bracket, ensuring it aligns with your security system’s requirements. With accuracy in mind, secure the bracket firmly, allowing for adjustments as needed to achieve optimal positioning for your Dummy Camera Bracket Installation.
Step-by-Step Guide to Installing the Dummy Camera Bracket
Installing a Dummy Camera Bracket is a straightforward process that can greatly enhance the security of any location. Here’s a step-by-step guide to ensure a smooth and effective setup.
1. Preparation: Begin by gathering all necessary tools, including your Dummy Camera Bracket, screws, and a screwdriver. Ensure the bracket is compatible with your security camera housing unit. Clear the installation area, making sure there are no obstacles that could hinder the process or mar the finish once complete.
2. Mounting the Bracket: Attach the bracket to the wall or desired surface using the provided screws. Follow the manufacturer’s instructions for the best placement and stability. Once secured, double-check the bracket’s firmness and adjust if needed. Then, carefully place your security camera into the bracket, ensuring it fits snugly and securely.
Best Practices and Tips for Maintaining Your Dummy Camera Setup
Maintaining a dummy camera setup is surprisingly important for ensuring your security system appears active and deterring potential intruders. Start by regularly checking the Dummy Camera Bracket Installation Guide to ensure your cameras are securely mounted, pointing in the right direction, and free from any obstructions. A simple adjustment here or there can make all the difference in an intruder’s perception of your home’s security.
Consider a consistent cleaning routine for your camera units. Dust, debris, and even bird droppings can accumulate over time, obscuring the lens and reducing image quality. Use a soft cloth to gently wipe down the exterior and ensure clear visibility. Additionally, consider using reflective tape or strategically placed lights around your dummy cameras to mimic real activity, further enhancing their deterrent effect.
Empty security camera housing units can be effectively utilized as dummy cameras with the installation of a simple dummy camera bracket. By following our comprehensive guide on Dummy Camera Bracket Installation, you can easily transform these vacant housings into functional and realistic security solutions. Regular maintenance, as outlined in our best practices section, will ensure your dummy camera setup remains convincing and reliable. This DIY approach not only saves costs but also adds an extra layer of security to any property.