Security camera dummy housings offer an affordable deterrent for intruders by simulating surveillance, enhancing home and business security. Before installing a dummy camera bracket (detailed in the Dummy Camera Bracket Installation Guide), gather necessary tools and materials, prioritize safety by turning off power at the main control panel or fusebox, follow step-by-step instructions for marking, removing old brackets, installing new ones accurately with a level tool, double-check connections, and restore power.
Looking to enhance your home or business security with a subtle yet effective solution? Consider replacing your old security camera dummy housing with a new, real-looking dummy camera bracket. This simple upgrade offers added peace of mind and deterrence. Our comprehensive guide, “Dummy Camera Bracket Installation Guide,” walks you through the process, from understanding the benefits to preparing for replacement and installing your new bracket. Elevate your security system today!
- Understanding Security Camera Dummy Housing and Its Benefits
- Preparing for the Replacement: Tools and Materials Required
- Step-by-Step Guide to Installing a New Dummy Camera Bracket
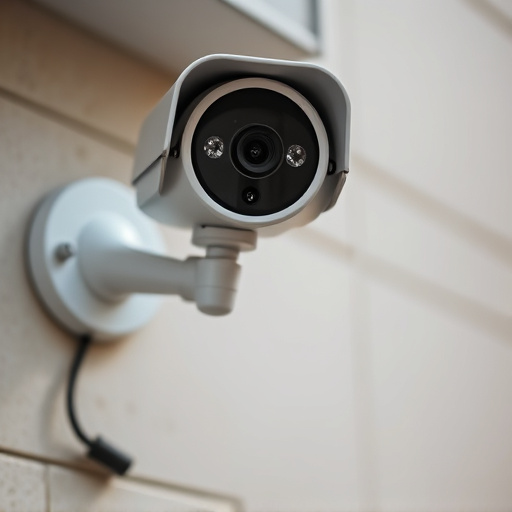
Understanding Security Camera Dummy Housing and Its Benefits
Security camera dummy housing is a clever and relatively inexpensive way to enhance security measures while adding an element of deception. This simple device mimics the appearance of an actual camera, deterring potential intruders by creating the illusion that your property is under constant surveillance. By strategically placing these dummy cameras, homeowners and businesses can navigate Dummy Camera Bracket Installation Guide, enhancing their overall security strategy.
The benefits extend beyond the psychological factor. Dummy housing can serve as a visual deterrent, discouraging vandalism or unauthorized entry attempts. Moreover, they offer an affordable alternative to purchasing and installing real security cameras, making them an attractive option for those on a budget who still wish to fortify their security posture.
Preparing for the Replacement: Tools and Materials Required
Before diving into the process, ensure you have all the necessary tools and materials for a successful dummy camera bracket installation. This includes a variety of screws and anchors suitable for your specific housing type, often requiring both outdoor and indoor-grade options. A set of pliers, a screwdriver (both flathead and Phillips), and a level are essential for precise adjustments. Additionally, consider having spare parts on hand, such as extra brackets or replacement components, to avoid delays in case of any damage during the process.
For a smooth installation, gather protective gear including work gloves and safety goggles. Depending on your location, weather conditions might play a role; therefore, an appropriate raincoat or sun protection can be beneficial. Having a step ladder accessible will facilitate reaching higher areas while ensuring stability for each step. Lastly, refer to your Dummy Camera Bracket Installation Guide for detailed instructions tailored to your specific model, as variations may exist between different manufacturers.
Step-by-Step Guide to Installing a New Dummy Camera Bracket
Installing a new dummy camera bracket is a straightforward process that can significantly enhance the security of your property. Start by turning off the power to the security system at the main control panel or fusebox. This ensures safe and interference-free installation. Next, locate the old bracket and mark its position on the wall with a pencil; this will guide you during the removal process. Using a screwdriver, carefully unscrew the existing bracket from the wall, taking note of any screws that might be used for other components like cables or sensors.
Once the old bracket is removed, clean the mounting hole to ensure a secure fit for your new dummy camera bracket. Align the new bracket with the marked spot and screw it in place using the appropriate hardware provided. Make sure the bracket is level by utilizing a level tool; this guarantees optimal positioning for your security camera. After installing the bracket, double-check all connections and ensure the power to the system has been restored. With these simple steps, you’ve successfully replaced the dummy camera bracket, enhancing your home’s or business’s security without breaking a sweat.
Upgrading your security system with a new dummy camera bracket is an easy and cost-effective way to enhance your home or business’s exterior appearance and deter potential intruders. By following our comprehensive Dummy Camera Bracket Installation Guide, you can navigate the process effortlessly, ensuring a secure fit that blends seamlessly into your environment. This DIY project offers a simple solution for maintaining a robust security network while adding an aesthetic touch to your property.