Dummy camera brackets are essential for creating realistic mock surveillance systems, offering precise mounting solutions for fake cameras. This guide provides step-by-step instructions on installing these brackets strategically, ensuring stability and functionality. By following the guide, users can integrate dummy cameras seamlessly into any space, serving as effective visual deterrents or testing tools without incurring genuine security camera costs, while adhering to local privacy regulations. Regular tests ensure optimal performance and peace of mind regarding property protection.
“Uncover the power of a mock surveillance system with our comprehensive Dummy Camera Bracket Installation Guide. Learn how these versatile brackets transform any space into a secure, monitored area without the need for actual cameras. From understanding their structural role and benefits to a detailed step-by-step installation process, this guide is your companion. Discover how to prepare your space, physically install the brackets, and test for optimal performance. Enhance your security measures with this effective, cost-efficient solution.”
- Understanding Dummy Camera Brackets: Their Role and Benefits
- Preparing Your Space: Assessments and Considerations Before Installation
- Step-by-Step Guide: Physical Installation of Dummy Camera Brackets
- Testing and Fine-Tuning: Ensuring Optimal Performance After Installation
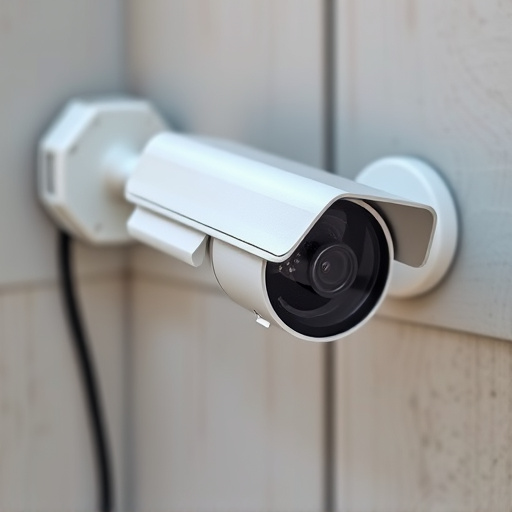
Understanding Dummy Camera Brackets: Their Role and Benefits
Dummy camera brackets are an essential component in the installation process of a mock surveillance system. These brackets serve as mounting points for fake cameras, providing stability and ensuring they’re positioned accurately. By using them, you can create a convincing simulation of a security setup without actually installing functional cameras.
One of the key benefits of dummy camera brackets is their versatility. They allow you to adjust the height, angle, and orientation of the simulated cameras, mirroring the flexibility offered by real surveillance equipment. This customization is crucial for aligning with the layout and aesthetic requirements of any space, making your mock system seamless and realistic. Additionally, brackets provide a cost-effective solution compared to purchasing and installing genuine security cameras, especially in situations where you only need a visual deterrent or for testing purposes.
Preparing Your Space: Assessments and Considerations Before Installation
Before you begin installing your dummy camera bracket, it’s crucial to prepare your space and consider several factors. Assess the area where you plan to set up the bracket—is it suitable for surveillance purposes? Look out for potential obstructions or blind spots that might compromise the system’s effectiveness. Ensure there’s adequate lighting to capture clear footage during all hours of the day and night. Additionally, consider the proximity to windows or entry points; these areas often require enhanced security measures.
A thorough assessment involves evaluating the structural integrity of your walls or ceilings to determine if they can support the weight of the bracket and associated equipment. Check for existing wiring that might interfere with the installation process. It’s also essential to comply with local regulations regarding privacy and surveillance, so familiarize yourself with relevant laws to ensure your setup adheres to these guidelines.
Step-by-Step Guide: Physical Installation of Dummy Camera Brackets
To begin the physical installation of dummy camera brackets, locate the ideal positions for each bracket on your walls or ceilings. Mark these spots clearly with a pencil. Next, gather all necessary tools, including drill bits compatible with your bracket’s screw holes, a level, and a screwdriver. Ensure the area is clear of debris and obstacles to facilitate smooth installation.
Using the level, ensure the bracket is perfectly aligned and straight before drilling. Carefully drill pilot holes through the marked locations, being mindful not to over-drill or damage the surface. Install the dummy camera brackets by screwing them into place, ensuring each bracket is securely fastened. Double-check all connections for stability and functionality before proceeding to the next step in your mock surveillance system installation guide.
Testing and Fine-Tuning: Ensuring Optimal Performance After Installation
After successfully installing your mock surveillance system, including the dummy camera bracket, it’s crucial to test and fine-tune the setup for optimal performance. Start by simulating real-world scenarios to ensure the system responds accurately. Move objects in front of the “camera” or adjust lighting conditions to verify motion detection capabilities. Check the video feed quality; clear and sharp images are essential for effective monitoring.
During testing, pay close attention to any false positives or negatives in motion alerts. Calibrate sensors and adjust settings accordingly. Fine-tuning might involve configuring sensitivity levels, adjusting notification triggers, and ensuring seamless integration with your security software. Regular practice tests will help maintain the system’s accuracy and reliability over time, providing peace of mind that your property is well-protected.
This comprehensive dummy camera bracket installation guide has equipped you with the knowledge to transform your space into a secure environment. By understanding the benefits of dummy camera brackets and following the detailed steps outlined, you can create an effective mock surveillance system. Remember, proper preparation and testing are key to ensuring optimal performance, providing peace of mind, and enhancing the overall security of your location.