Dummy camera brackets are crucial for proper installation of security dome cameras, ensuring optimal visual quality and efficient surveillance. A detailed Dummy Camera Bracket Installation Guide covers selecting the right bracket, preparing surfaces, secure fastening, precise alignment, and testing connections. Key camera specs include resolution, field of view, night vision, connectivity, and motion detection. Refer to this guide for seamless setup and remote access compatibility.
“Uncover the power of dummy security dome cameras, a smart alternative to real surveillance. This comprehensive guide explores the essential specifications and installation process for these lifelike mockups. From understanding basic dummy camera bracket structures to highlighting key features, we demystify their role in enhancing home security. Learn about the step-by-step installation process and discover common specifications to ensure you choose the right fit. Master the art of Dummy Camera Bracket Installation with this essential reference.”
- Understanding Dummy Camera Bracket Basics
- Essential Features of Dummy Security Cameras
- Installation Process: Step-by-Step Guide
- Common Specifications to Look Out For
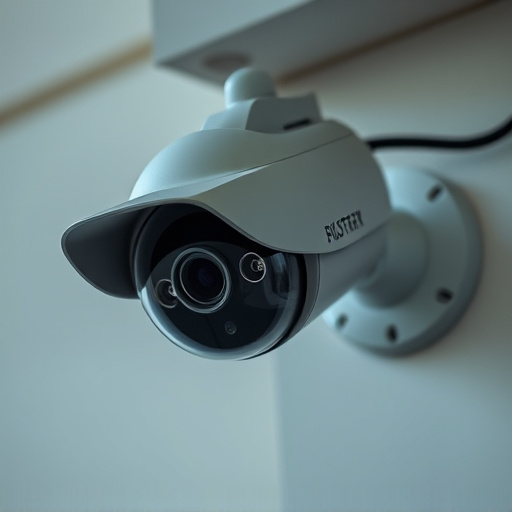
Understanding Dummy Camera Bracket Basics
Dummy camera brackets are essential accessories for installing security dome cameras, providing a secure and stable mounting solution. These brackets are designed to fit seamlessly with various camera models, ensuring optimal positioning for clear and unobstructed visuals. Understanding the basics of dummy camera bracket installation is crucial for a successful setup.
A Dummy Camera Bracket Installation Guide typically covers key aspects such as choosing the right bracket size and type for your camera model, preparing the mounting surface, securing the bracket using appropriate hardware, and finally attaching the camera to the bracket. Proper alignment and level adjustment are vital to guarantee the camera captures high-quality footage without distortion or blurriness. Following this guide ensures a straightforward installation process, enhancing the overall security system efficiency.
Essential Features of Dummy Security Cameras
Dummy security cameras are a popular choice for those seeking an effective yet discreet home or business surveillance solution. These devices offer several key features that make them stand out in the market. One of the most important aspects is their realistic design, which includes a detailed Dummy Camera Bracket Installation Guide to ensure proper placement and authenticity. This guide typically covers where to position the camera, how to adjust its view, and best practices for creating a convincing setup.
Additionally, these cameras are equipped with advanced technology such as motion detection, night vision capabilities, and weather resistance, allowing them to capture clear images and videos in various conditions. The infrared lighting ensures optimal visibility even in low-light environments, while the water-resistant housing protects the camera from outdoor elements. With these features, dummy security cameras provide a convincing simulation of active surveillance, deterring potential intruders without compromising on visual quality.
Installation Process: Step-by-Step Guide
Installation Process: Step-by-Step Guide
The dummy security dome camera’s installation begins with preparing the location. Identify a suitable spot, ensuring it aligns with your desired field of view and is free from obstructions. Next, acquire the necessary tools, including the Dummy Camera Bracket, screws, and a drill. Attach the bracket to the wall or ceiling using the provided hardware, marking the screw holes for precise alignment. Carefully mount the dummy camera onto the bracket, ensuring it’s securely fastened. Adjust the camera’s position for optimal viewing angle. Once fixed, test the connection to confirm stability.
Finally, verify the camera’s functionality by reviewing its feed on your monitoring system. Ensure clear and consistent footage. If adjustments are needed, tweak the camera’s positioning or bracket settings accordingly. This straightforward process ensures your dummy security dome camera is effectively installed, providing a vigilant eye for your security needs.
Common Specifications to Look Out For
When shopping for dummy security dome cameras, several common specifications stand out as essential considerations. First and foremost, check the resolution; high-definition (HD) or 4K footage offers sharper images, crucial for identifying potential threats. Next, look for a wide field of view, typically measured in degrees, ensuring comprehensive coverage. A good range is around 120° to 180°.
Another vital aspect is the camera’s night vision capability, often aided by infrared (IR) LEDs. This feature guarantees round-the-clock surveillance, especially important for outdoor applications. Wireless connectivity, such as Wi-Fi or Bluetooth, streamlines installation and allows for remote access via a Dummy Camera Bracket Installation Guide. Ensure compatibility with your network and consider additional features like motion detection and two-way audio for enhanced interaction.
Dummy security dome cameras offer a practical and cost-effective solution for enhancing home or business security without the need for complex wiring. By understanding the essential features, installation process, and common specifications like resolution, infrared capabilities, and weather resistance, you can make an informed decision when choosing a dummy camera bracket. Following our comprehensive guide on dummy camera bracket installation, you’ll be equipped to ensure your security system not only looks the part but also functions effectively in deterring potential intruders.