For a Dummy Camera Bracket Installation Guide, plan strategic placement of brackets at natural viewpoints (5-10 feet above ground) for realistic security coverage. Gather tools and materials including durable brackets, mounting hardware, cable ties, power drill, and safety gear. Follow instructions for secure setup, enhance realism with dummy camera covers. Focus on key surveillance areas, use guide to mount cameras optimally, test and calibrate system thoroughly post-installation for reliable simulation.
“Elevate your home security game with our comprehensive dummy camera bracket installation guide. Learn how to strategically plan and execute the perfect setup for a mock surveillance system. From selecting the right tools to positioning dummy cameras for maximum coverage, this step-by-step process ensures an effective yet cost-efficient security measure. Get ready to transform your space into a vigilant, foolproof fortress.”
- Planning Your Dummy Camera Bracket Placement
- Gathering Necessary Tools and Materials
- Mounting the Brackets on Walls or Ceilings
- Positioning Dummy Cameras for Optimal Coverage
- Testing and Calibrating the Mock Surveillance System
Planning Your Dummy Camera Bracket Placement
When planning your dummy camera bracket placement, consider the entire area you wish to monitor as if it were a real surveillance setup. Identify key locations that offer strategic viewpoints without obstructing natural traffic flow or creating an unnatural appearance. Dummy camera brackets should be placed at heights similar to those of real security cameras, typically around 5-10 feet off the ground, to maintain realism.
Ensure visible lines of sight aren’t blocked by fixtures, plants, or other objects. The goal is to create a convincing mock surveillance system that doesn’t draw unnecessary attention while still providing adequate coverage. By carefully considering these factors, you’ll be well on your way to creating an effective Dummy Camera Bracket Installation Guide for any property.
Gathering Necessary Tools and Materials
To begin your dummy camera bracket installation, the first step involves gathering all the necessary tools and materials. This includes a durable dummy camera bracket designed for outdoor or indoor use, depending on your preference, along with compatible security cameras. Ensure you have the correct mounting hardware that matches your chosen location—whether it’s a wall, ceiling, or pole. A variety of screws, anchors, and allen keys are often required. Don’t forget to include cable ties for organizing wires and a power drill with corresponding bits for secure installations.
Additionally, consider purchasing a dummy camera cover to enhance realism and deter potential thieves. Also, gather essential safety gear like gloves and safety glasses to protect yourself during the installation process. With all components ready, you’re now equipped to follow detailed instructions specific to your bracket’s design, ensuring a secure and effective dummy surveillance system setup.
Mounting the Brackets on Walls or Ceilings
When mounting brackets for dummy camera installations, whether on walls or ceilings, precision is key to achieving a neat and professional look. Begin by ensuring your surface is clean and free from debris. Use appropriate tools like drill bits and screwdrivers that match the bracket’s hardware. Mark the mounting points accurately, keeping in mind the camera’s field of view and any required clearance for its operation. Drill pilot holes if necessary, to prevent crack formation or damage during installation.
Insert the brackets securely, tightening the screws firmly but carefully. Verify the stability of the brackets by gently testing them. This step-by-step dummy camera bracket installation guide ensures that your surveillance system looks as good as it functions, providing a robust and aesthetically pleasing foundation for your mock surveillance setup.
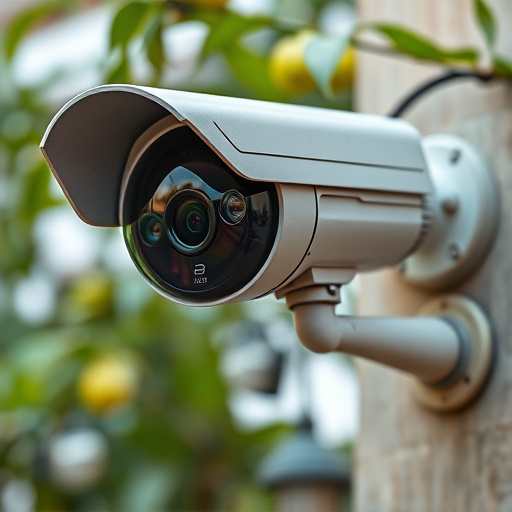
Positioning Dummy Cameras for Optimal Coverage
When positioning dummy cameras, the goal is to achieve optimal coverage while maintaining a realistic setup. Begin by identifying key areas that require surveillance, such as entry points, corridors, and high-value assets. Next, utilize a Dummy Camera Bracket Installation Guide to securely mount the cameras at strategic locations. This guide will ensure proper angle adjustments and placement for maximum visibility.
Consider factors like lighting conditions, obstacle free lines of sight, and camera field of view when selecting camera positions. Properly aligned dummy cameras can significantly enhance security perceptions, deter potential threats, and provide crucial visual evidence in case of an incident.
Testing and Calibrating the Mock Surveillance System
After installing the dummy camera brackets, it’s crucial to test and calibrate your mock surveillance system for optimal performance. Start by ensuring each bracket is securely fastened and aligned correctly with the intended camera position. Then, using a dummy camera or even a smartphone with a compatible app, simulate camera placement and conduct initial tests. Check image clarity, field of view, and any necessary adjustments to ensure the system captures clear footage accurately representing real surveillance needs.
Regular calibration is essential for maintaining accuracy. Periodically recheck bracket alignment and adjust as needed based on environmental changes or shifts in your security layout. This meticulous process guarantees that your mock surveillance system functions as intended, providing a reliable simulation for training, testing protocols, or evaluating security measures without the need for actual surveillance equipment.
This comprehensive dummy camera bracket installation guide has equipped you with the knowledge to create an effective mock surveillance system. By carefully planning your bracket placement, gathering the right tools, mounting brackets securely, and strategically positioning dummy cameras, you’ve taken significant steps towards enhancing security and deterring potential intruders. Remember, a well-designed mock surveillance system is not just about appearance; it serves as a powerful deterrent, providing peace of mind for any property owner.